

Todo-List App using ReactJs


I started learning React in August this year, and I have found it fun and exciting. Due to the saying that you never fully understand a topic until you can explain it, have decided to document one of my project in the process of my learning as it helps to retain the knowledge.
In this article, we shall build a todo-list with React.
Introduction
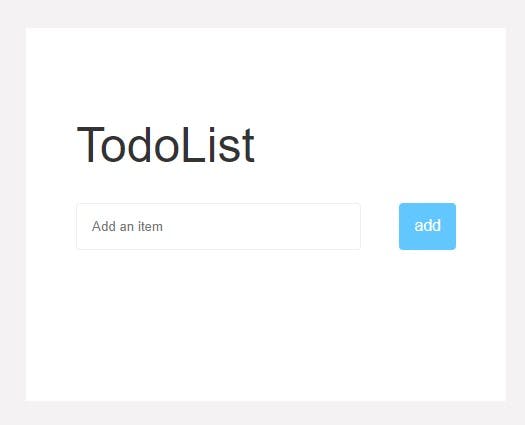
According to reactjs.org, they defined React as a JavaScript library for building user interfaces. In this article, we will create a simple to-do application. The application will only display the tasks and add new ones. You can take a sneak peek at it’s finished glory here. Also, Here is the final look and feel of the to-do application we would build:
Prerequisites
To complete this project, we will need:
Node.js installed locally, which you can do by following the steps here.
Some familiarity with React will be beneficial. Please take a look at this React documentation here.
Getting Started
We start by creating a new react app by running:
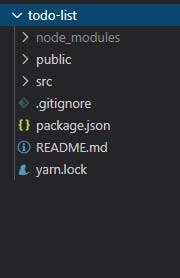
npx create-react-app todo-list in the command prompt
then navigate into the folder
cd todo-list
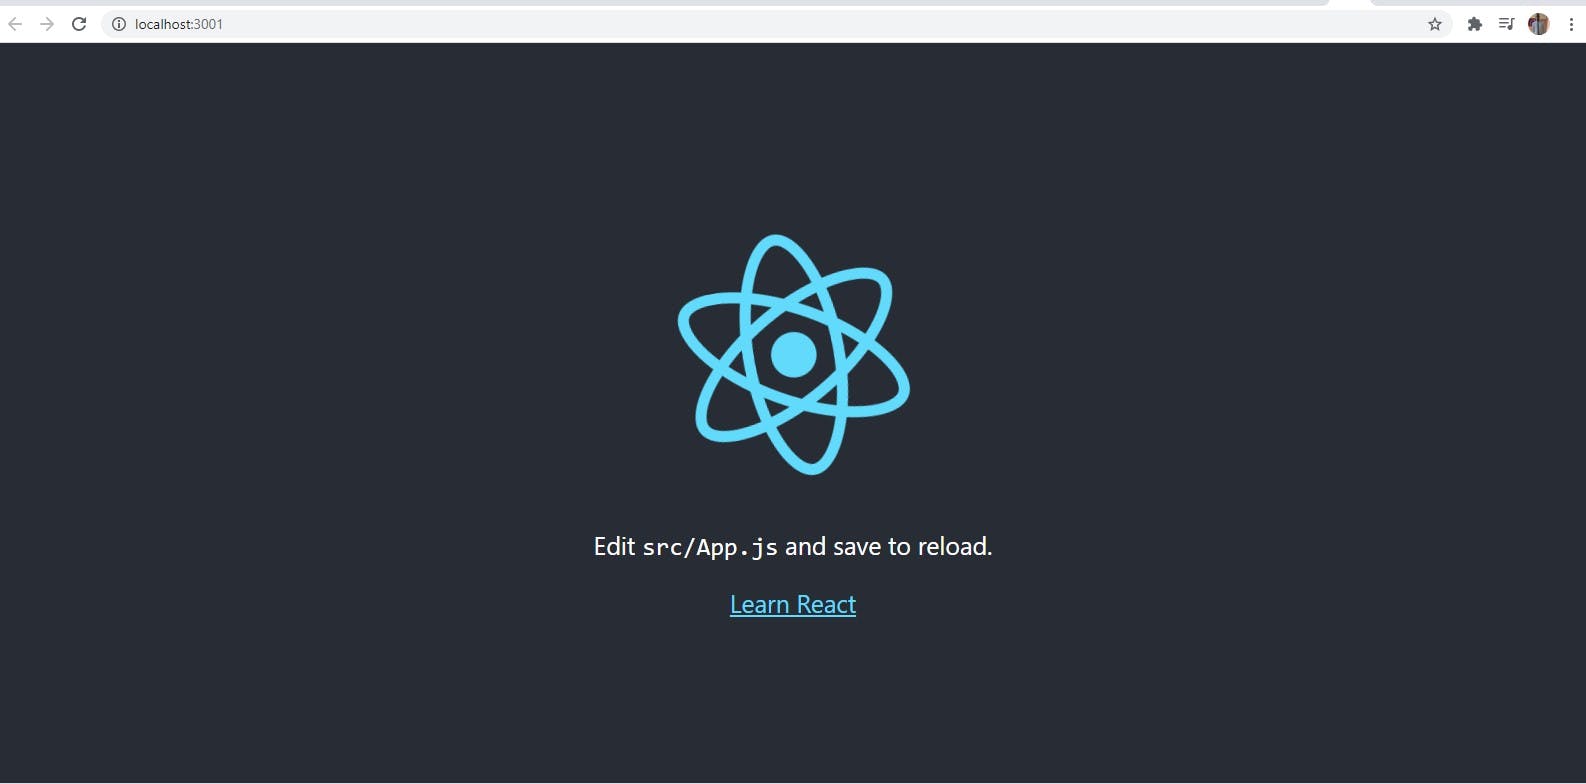
Now we start the server by typing the following command in terminal:
npm start
Change into src and delete everything inside the directory
cd src && rm *
Now, we create a file that will render our app to an HTML file which is in the public folder.
touch index.js
Also, let us create another folder with the name components with file name app.js which will be the main component of our app.
mkdir components && cd components && touch app.js
Let us edit our index.js
import React from 'react';
import ReactDOM from 'react-dom';
import App from './Components/App'

ReactDOM.render(<App/>, document.getElementById('root')
);
Now, we go back to edit our App.js inside the components folder
import React, { Component } from 'react'
export default class app extends Component {
  render() {
    return (
      <div>
        <h2>Todo List</h2>
      </div>
    )
  }
}
Let us declare our constructor in App.js where our state is initialized.
import React, { Component } from 'react'

export default class app extends Component {

constructor(props) {
  super(props)

  this.state = { }
}
  render() {
    return (
      <div className="App">
        <h2>Todo List</h2>
      </div>
    )
  }
}
Next, we add an Input form in our App.js file so we can add items to our list.
import React, { Component } from 'react'

export default class app extends Component {

constructor(props) {
  super(props)

  this.state = {

  }
}
  render() {
    return (
      <div>
        <h2>Todo List</h2>
        <form className="">
        <input
          className="input"
          type="text"
          value={this.state.todoItem}
          placeholder="Add an item"
        />
        <button type="submit" name="submit" value="submit">
          add
        </button>
      </form>
      <div>{this.state.todoItem}</div>
      </div>
    )
  }
}
If you noticed we are adding some values using our state and we don't have it yet so, we need to go back up to our constructor and add "todoItem" to our state. We need this because it will update as the user inputs text into our form.
class App extends Component {
  constructor(props) {
    super(props);

    this.state = {
      todoItem: ""
    };
  }
  ...
}
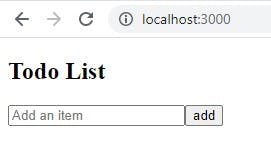
Let us open localhost:3000 and see what our looks like presently. Now we should have our app looks like the picture below.
Let us add the event handler to update pendingItem as the user types in the input. This comes before the render method.
itemInput = e => {
  this.setState({
    todoItem: e.target.value
  });
}
Next is to add an event handler onto our input that fires every time the user types in something.
      <input
          className="input"
          type="text"
          onChange={this.itemInput}
          value={this.state.todoItem}
          placeholder="Add an item"
        />
Now we should be able to see the text rendering in the div under the input form as we type.
Moving forward, we would delete the div rendering todoItem to have a separate file name inputForm.js in our components.
Now, let us go ahead and delete the div rendering "todoItem" then create the new file "inputForm.js"
import React from 'react'

export default function inputForm(props) {
  return (
    <form className="todoInput">
    <input
      className="input"
      type="text"
      onChange={props.itemInput}
      value={props.todoItem}
      placeholder="Add an item"
  />
  <button type="submit" name="submit" value="submit">
    add
  </button>
</form>
  )
}
If you notice, we now have a functional component. Also, we are using props instead of a state. Props are properties that are being passed into a component. These can then be accessed by calling ‘props.myProps’
Now, Let us pass these new props into our Input component in App.js and import the new component.
 render() {
    return (
      <div>
        <InputForm


          className="input"
          type="text"
          itemInput={this.itemInput}
          value={this.state.todoItem}
          placeholder="Add an item"
        />


      </div>
    )
  }
Note, on our InputForm component in App.js we changed onClick to ItemInput. This is how props are passed down to children's components.
Next is to add a list in our state.
 this.state = {
    list: [],
    todoItem: ""
  }
Next is to add a handler in our App.js that update the state every time the user clicks the submit button.
newItemSubmitHandler = e => {
  e.preventDefault();
  this.setState({
    list: [
      {
        name: this.state.todoItem,
      },
      ...this.state.list
    ],
    todoItem: ""
  });
};
Here we prevent the submit button from refreshing the page then make sure the input name is saved into the list state. Then adding back in any previous items in the list with the spread operator then connect it up to the input form.
return (
    <form
      onSubmit={props.newItemSubmitHandler}
      className="todoInput">
      ...
    </form>
  );
then pass through to props…
Next is to add our ‘List’ component by adding a new file called List.js in the components folder so we can render the items on our list.
<ul>
        {props.list.map((item, index) => (
          <ListItem
            key={index}
            item={item.name}
          />
        ))}
      </ul>
We have another stateless component here and we’re using Javascript’s map method to iterate over it and render a list item for every todo item we have entered into our state.
Now let us import List into App.js and create our ListItem component as well.
import List from './List';

...
return (
      <div>
        <InputForm

          className="input"
          type="text"
          itemInput={this.itemInput}
          newItemSubmitHandler={this.newItemSubmitHandler}
          value={this.state.todoItem}
          placeholder="Add an item"
        />

        <List list={this.state.list}/>
      </div>
    )
ListItem Component
import React, { Component } from 'react'

export default class ListItem extends Component {
  render() {
    return (
        <li>
        {props.item}
    </li>
    )
  }
}
Now let u create our style sheet inside the component folder
@font-face {
    font-family: Lato;
    src: url("https://fonts.googleapis.com/css?family=Lato:300,400,900,900i");
  }

  * {
    box-sizing: border-box;
  }

  body {
    background: rgb(244, 243, 243);
    font-family: "Lato", sans-serif;
  }


.App{
max-width: 480px;
  margin: auto;
  background: #fff;
  margin-top: 50px;
  display: flex;
  flex-direction: column;
  padding: 50px;
}
button {
    background: #62c7ff;
    border: none;
    font-size: 1rem;
    font-weight: 300;
    font-family: "Lato", sans-serif;
    padding: 10px 15px;
    border-radius: 4px;
    color: #fff;
  }

  h2 {
    align-content: center;
    font-size: 3rem;
    font-weight: 200;
    color: #333;
    margin-bottom: 30px;
  }

  .todoInput {
    width: 100%;
    display: flex;
    justify-content: space-between;
    margin-bottom: 35px;
  }

  input {
    width: 75%;
    margin-right: 25px;
    padding: 15px 0 15px 15px;
    border-radius: 4px;
    border: 1px solid rgb(238, 238, 238);
  }

  ul {
    list-style: none;
    margin-bottom: 50px;
  }

  li {
    font-weight: 300;
    padding: 20px 0 20px 0;
    border-top: 1px solid #eee;
    display: flex;
    justify-content: space-between;
  }
Next, we import our stylesheet into App.js.
import React, { Component } from 'react'
import InputForm from './InputForm';
import List from './List';
import  './style.css'
...
Now your app should look something like this…

We've done it. We now have a to-do list created with React!