


What is React??
React is a Javascript library for creating interactive user interfaces (UI's).
Design simple views for each state in your application, and React will efficiently update and render just the right components when your data changes.
One of the advantages of choosing React over other frameworks is that React Code can easily be converted to React native. So Android and iOS applications for your website can be done.
React and React Native also has great community support and forums because it is developed by Facebook. Do you want to know more about the detailed overview of React?? click this Link
OVERVIEW
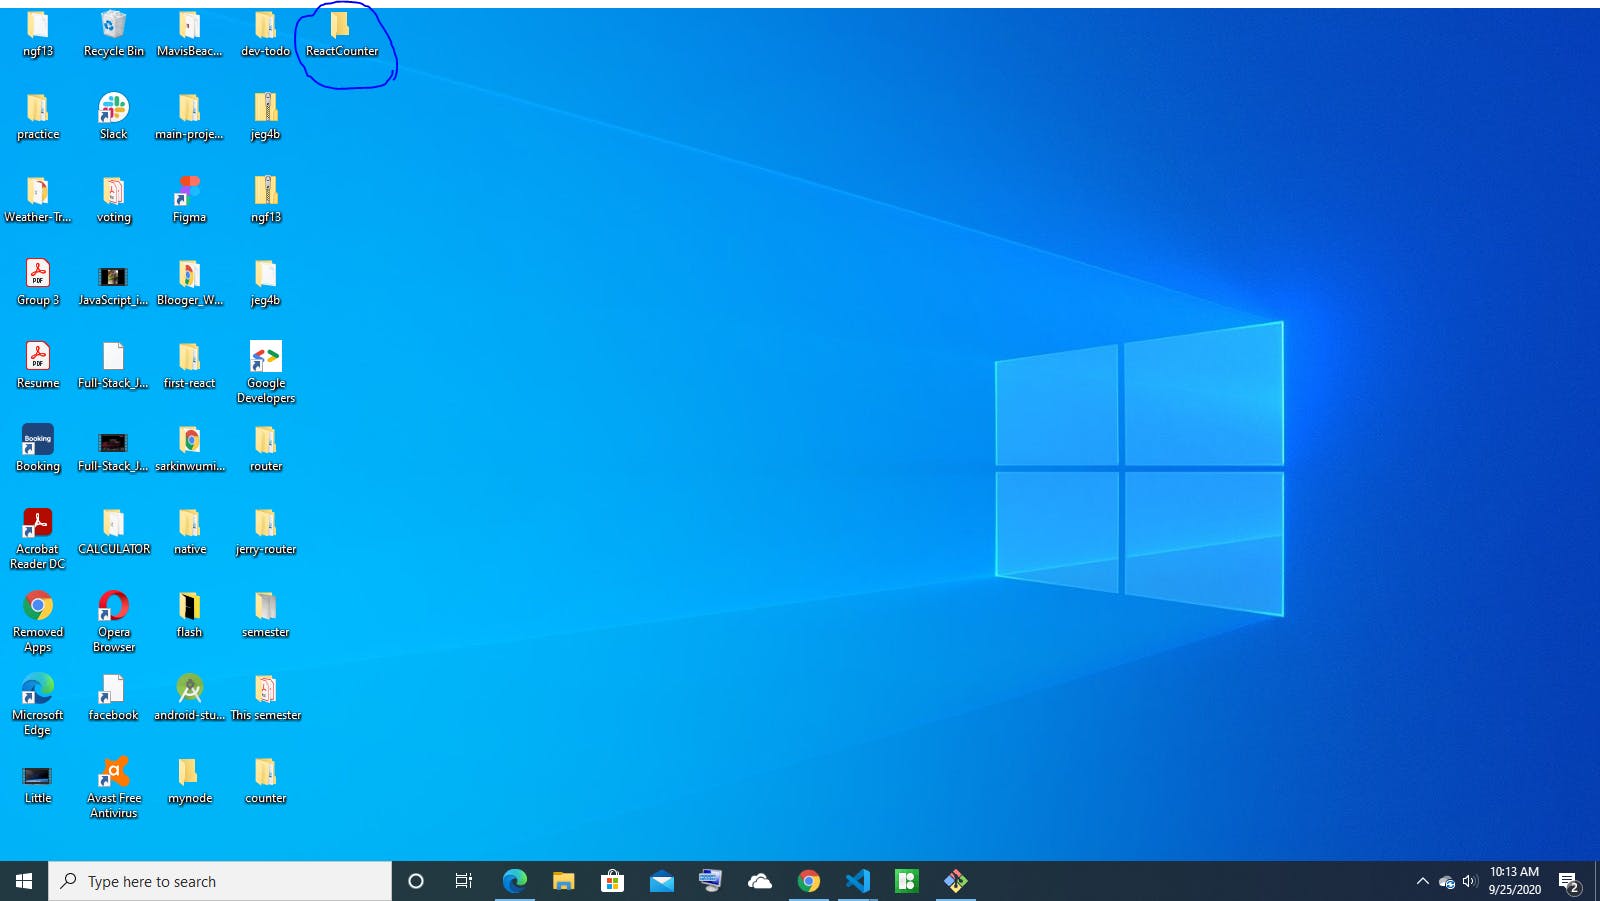
1.Firstly, Create a folder on your desktop and give it any name that you choose to call your web app. In this case, I named mine ReactCounter, find the image description below
2.Open your desired Text editor and click the Open Folder to open the Project folder you created on your desktop.
In my case, I'm using Visual Studio Code known as VS Code.
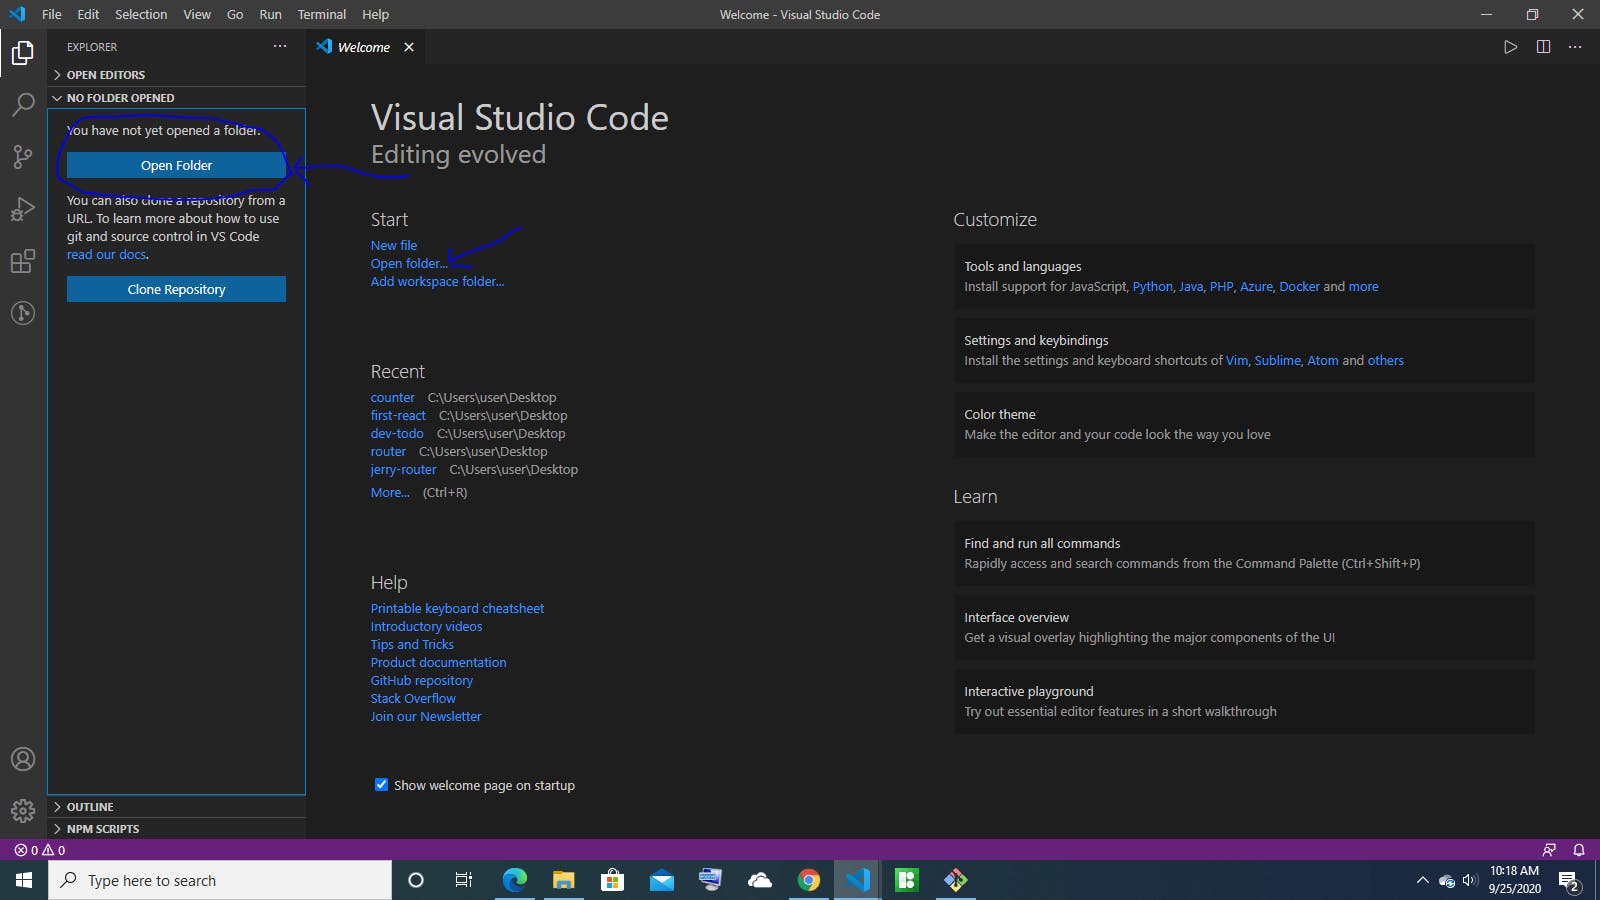
3.Search through for the name of the folder you created on your desktop and click on Select Folder to open it on your preferred text editor.

What Next? Let's Create our React App.
INSTALLING REACT
After the successful installation of Node.js Open up the terminal on your preferred text editor and type the below command.
npx create-react-app mycounter

npx on the first line is not a typo — it’s a package runner tool that comes with npm 5.2+.
Create React App doesn’t handle backend logic or databases; it just creates a frontend build pipeline, so you can use it with any backend you want. Under the hood, it uses Babel and webpack, but you don’t need to know anything about them.
mycounter is the name you give to your folder, which will hold all the components you created in your React app.
If you need further assistance on the installation of React on your system, use the below links.
Create React App takes some time before installing react app on your laptop computer, so, You need to sit back and observe the installation process.
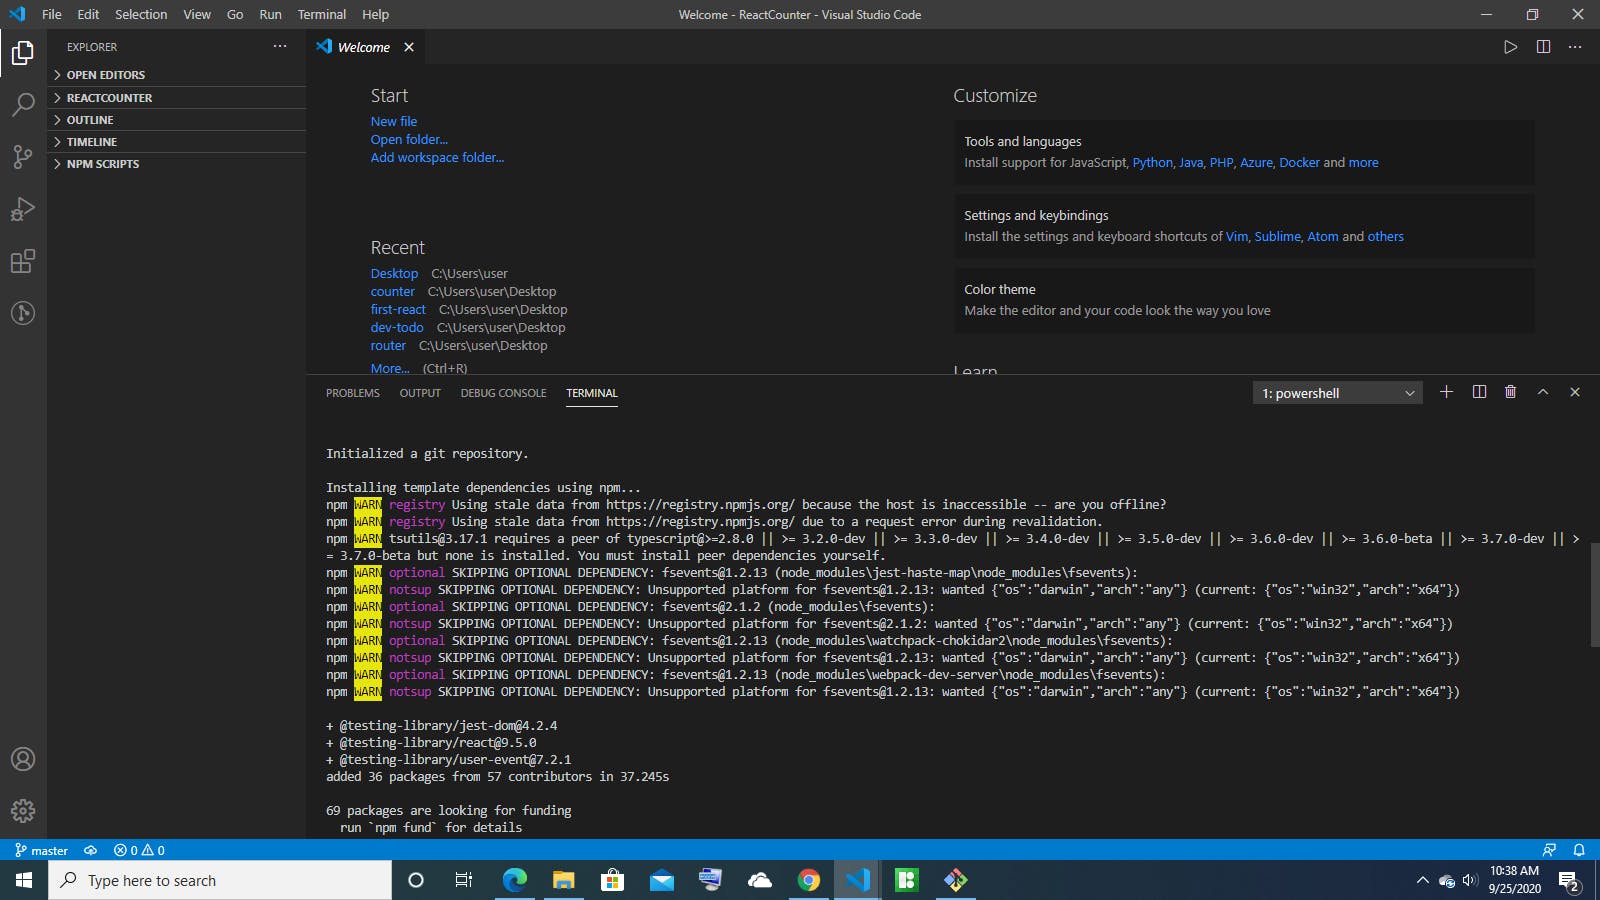
- If everything goes as expected without any errors, You should see something like this on your screen.
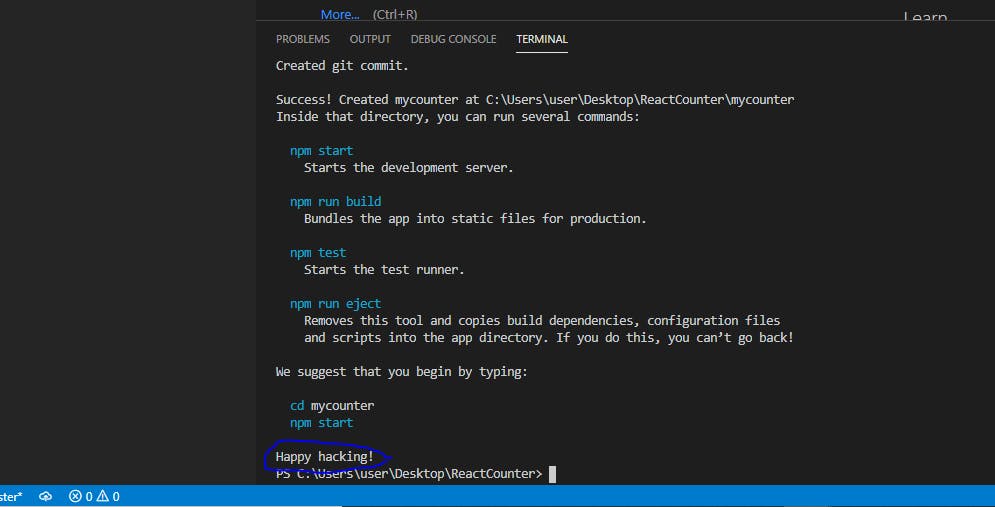
We already get some information telling us the next thing we should do. Can you see it? I'm very sure you can see it.
Here are the suggestions we were given,
cd mycounter
npm start
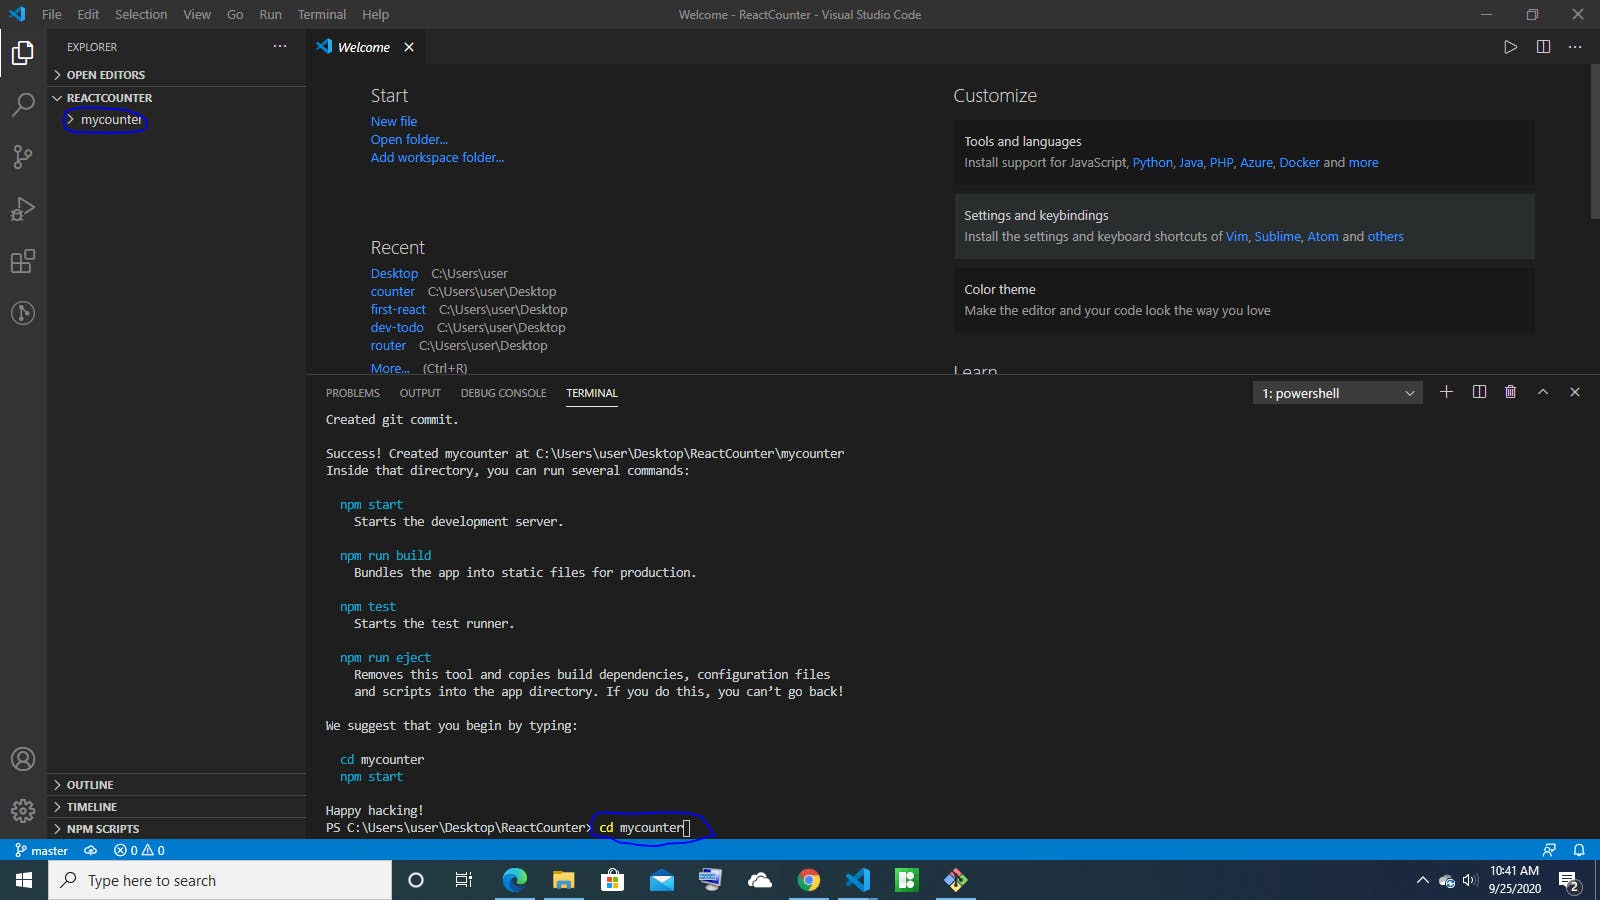
Now navigate into your Create react app folder by typing the command below
cd mycounter
- Next, lets open our app on the local development environment with the below command
npm start

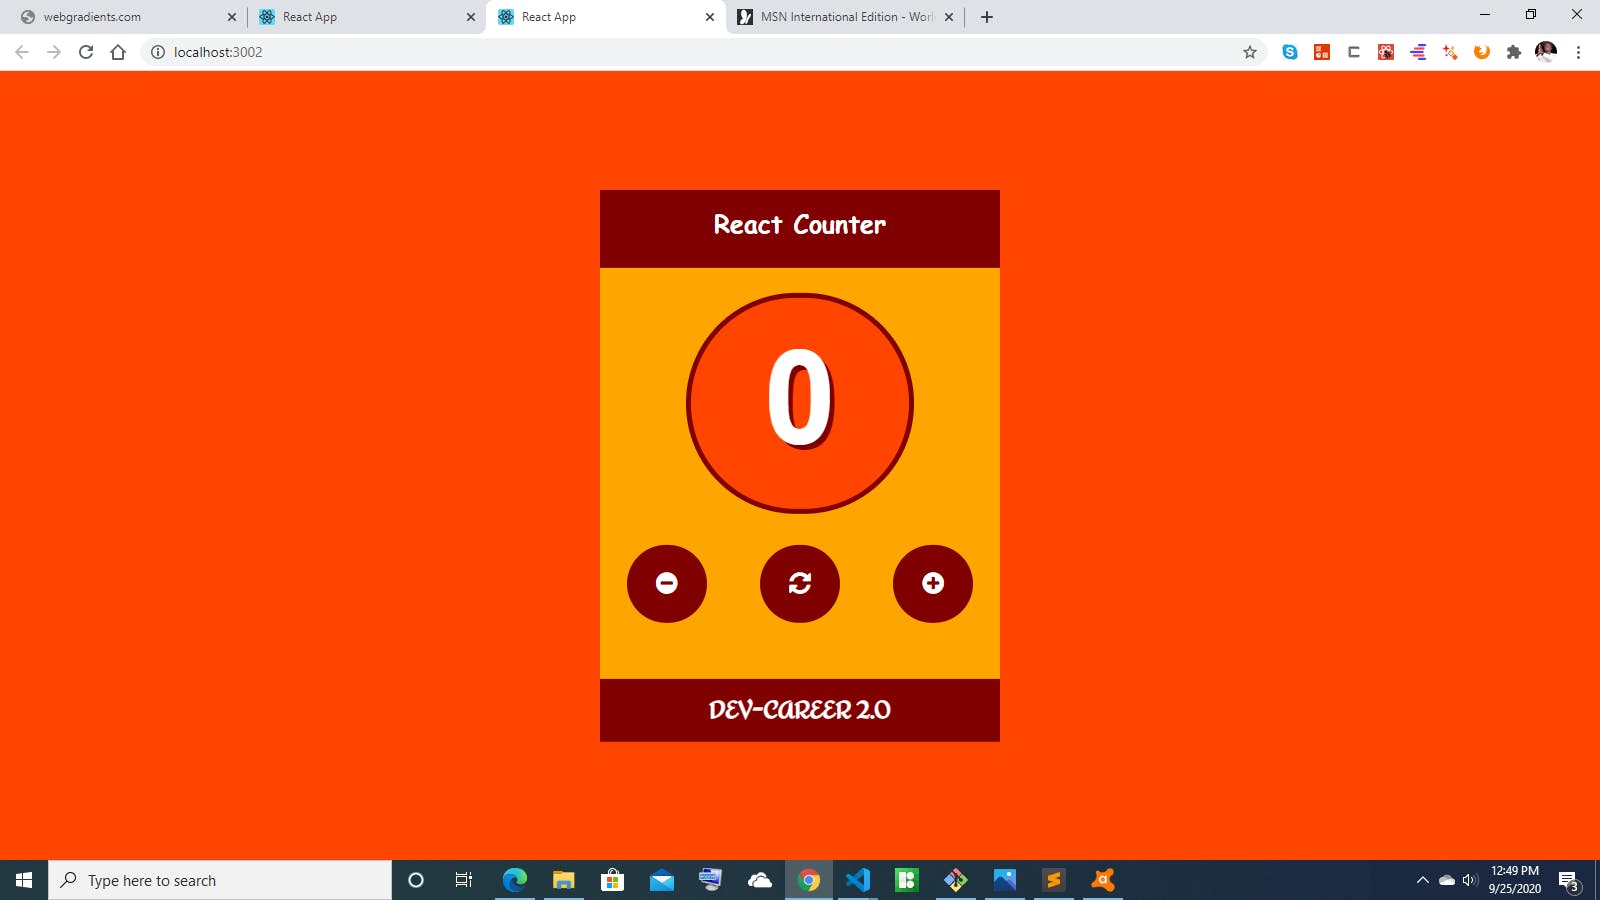
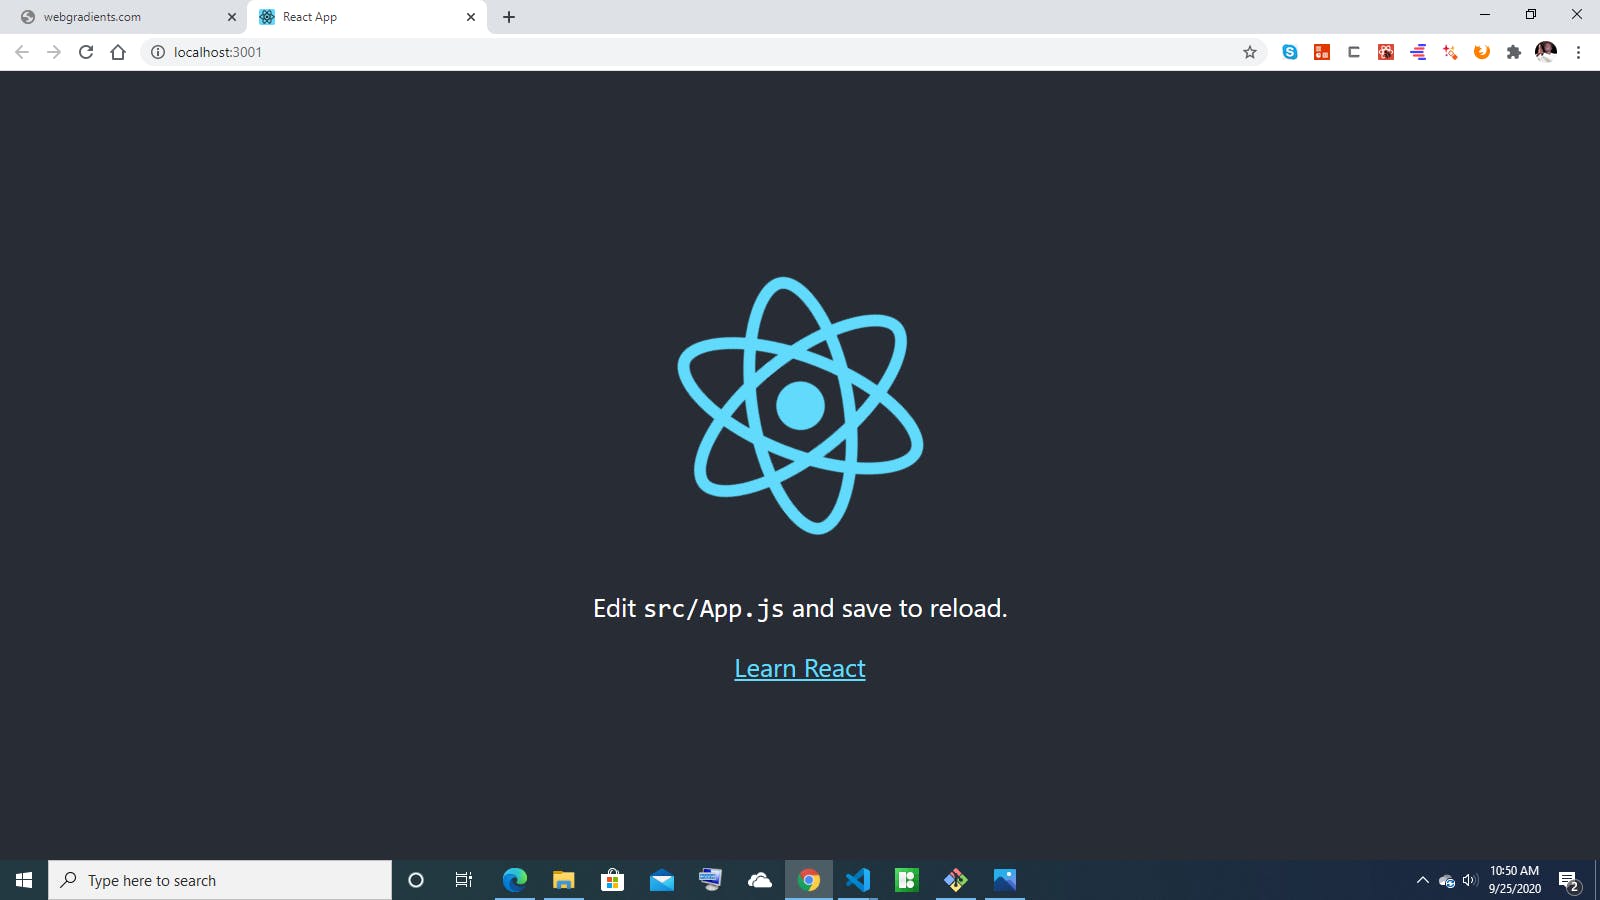
- If your installation was successful, the app should open up on a port on your local browser. I'm currently using Google Chrome and here is the display of how it looks on my laptop computer.
Congratulations
Great job coming this far.
Now, let's dive in and get started without any hesitation. Here's how the counter app looks on my preferred text editor [vs code].
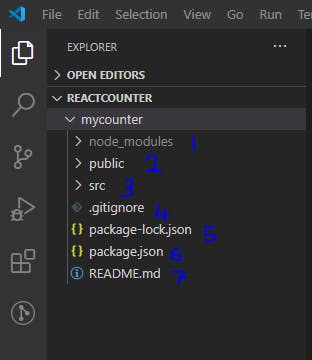
Now, open up the source folder >src. This contains all our code files. Open the App.js file and let's see what it contains.

The above image description shows the content of the src folder in our counter app.
To make changes to your app, delete ALL the lines of code inside in the App.js file.
- We will be using a class component for our react counter app, therefore copy the code below to make the changes to the App.js file.
And also, write a simple code to illustrate your first experience with create react counter. In my case, I'm writing My First ReactCounter
<h1>My First ReactCounter</h1>
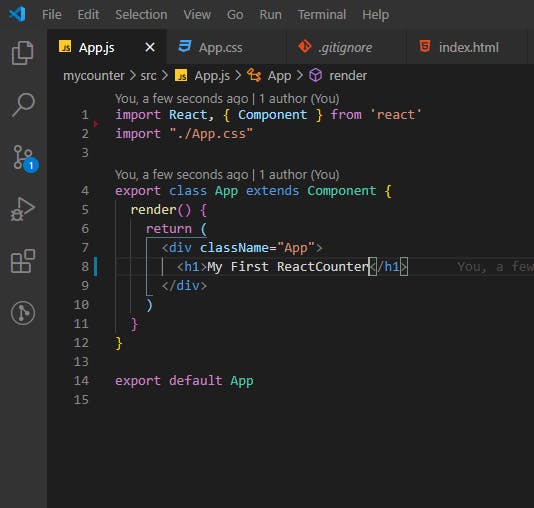
- Save your new code and refresh your browser, The Image description below should be displayed.
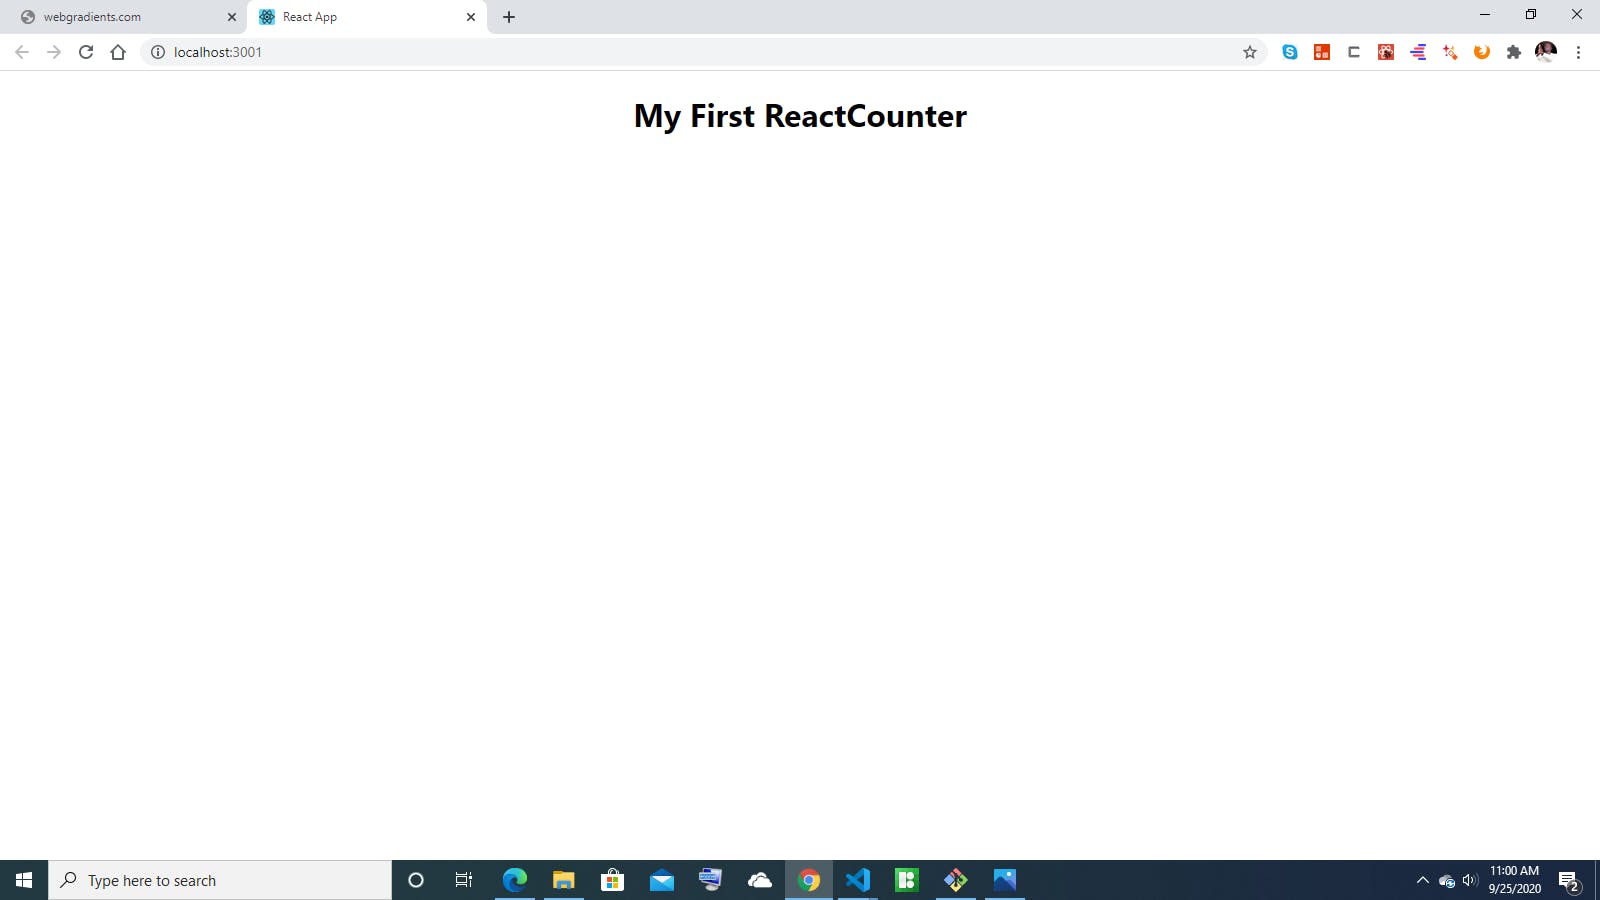
How's your journey so far?
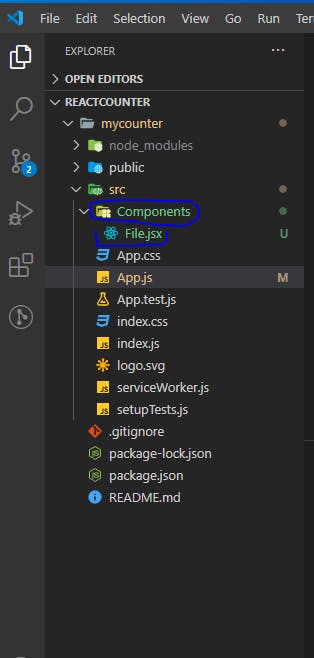
Now, let's create our Components folder where all our component files will be located.
Navigate to the >src folder and create a new folder called Components.
Inside the Components folder we will start creating our components
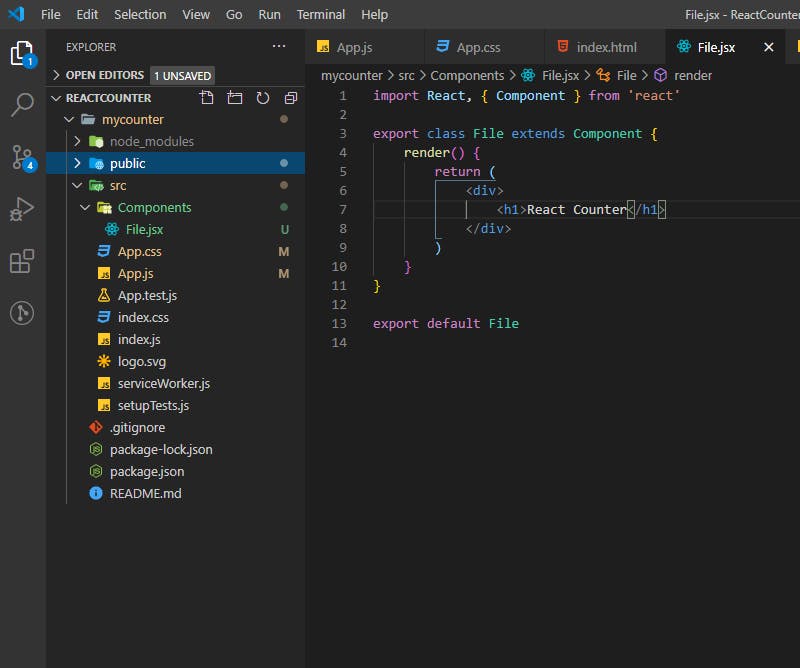
The first components we will create is the File components, which is the one to hold all files in our react app, check the image below for description.
- Now let's make some changes to our newly created component, the image below specifies what our Header component looks like.
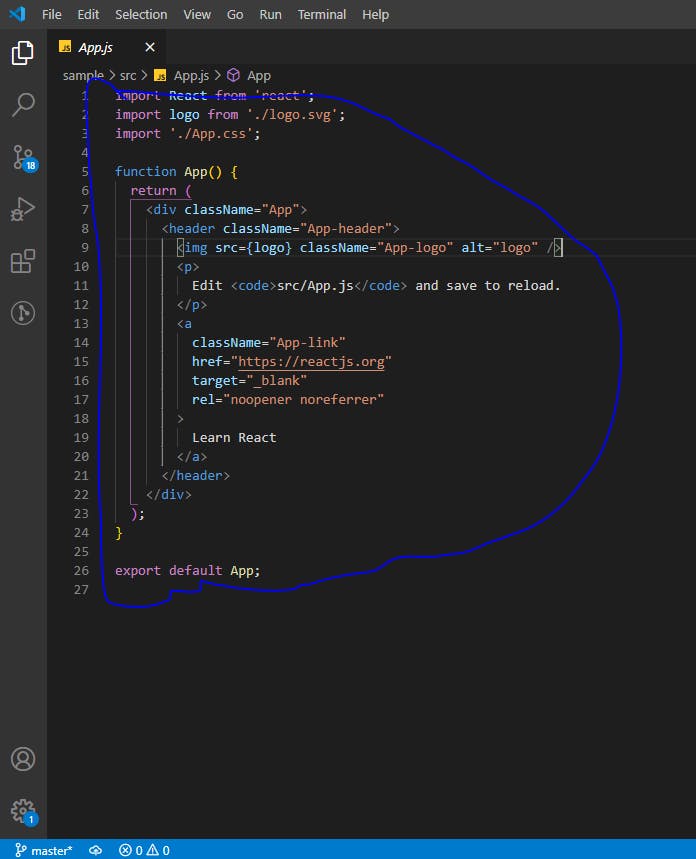
Now navigate back to the App.js component and let's make some changes. The App.js component is the parent component, so we are going to embed all components we create inside the App.js components.
- Since we are embedding the File.jsx component inside the App.js component, we need to import the File.jsx component inside the App.js component.
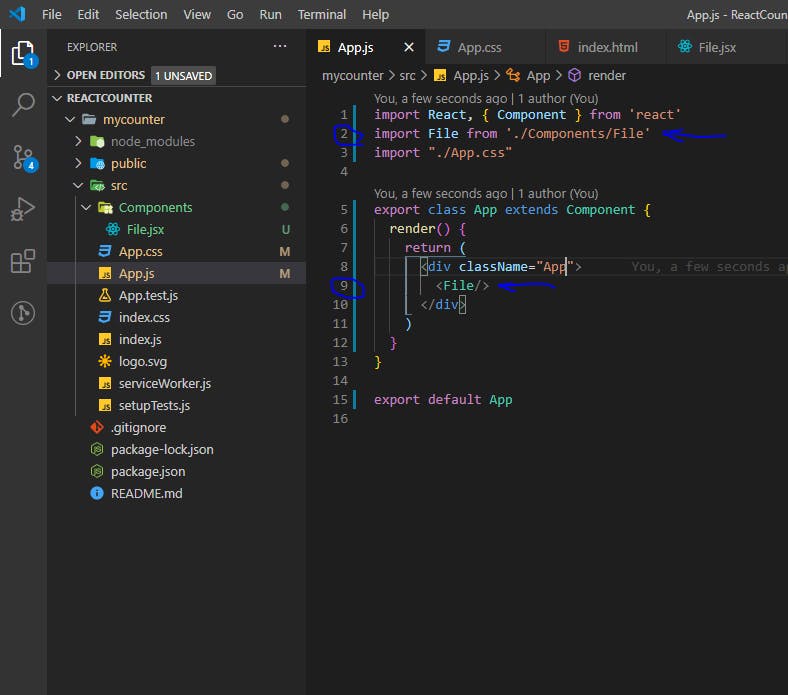
Line 2 and 9 are of utmost importance,
On line 2, we imported the File.jsx component. That way, we will be able to use it, and on line 9 we are embedding that component.
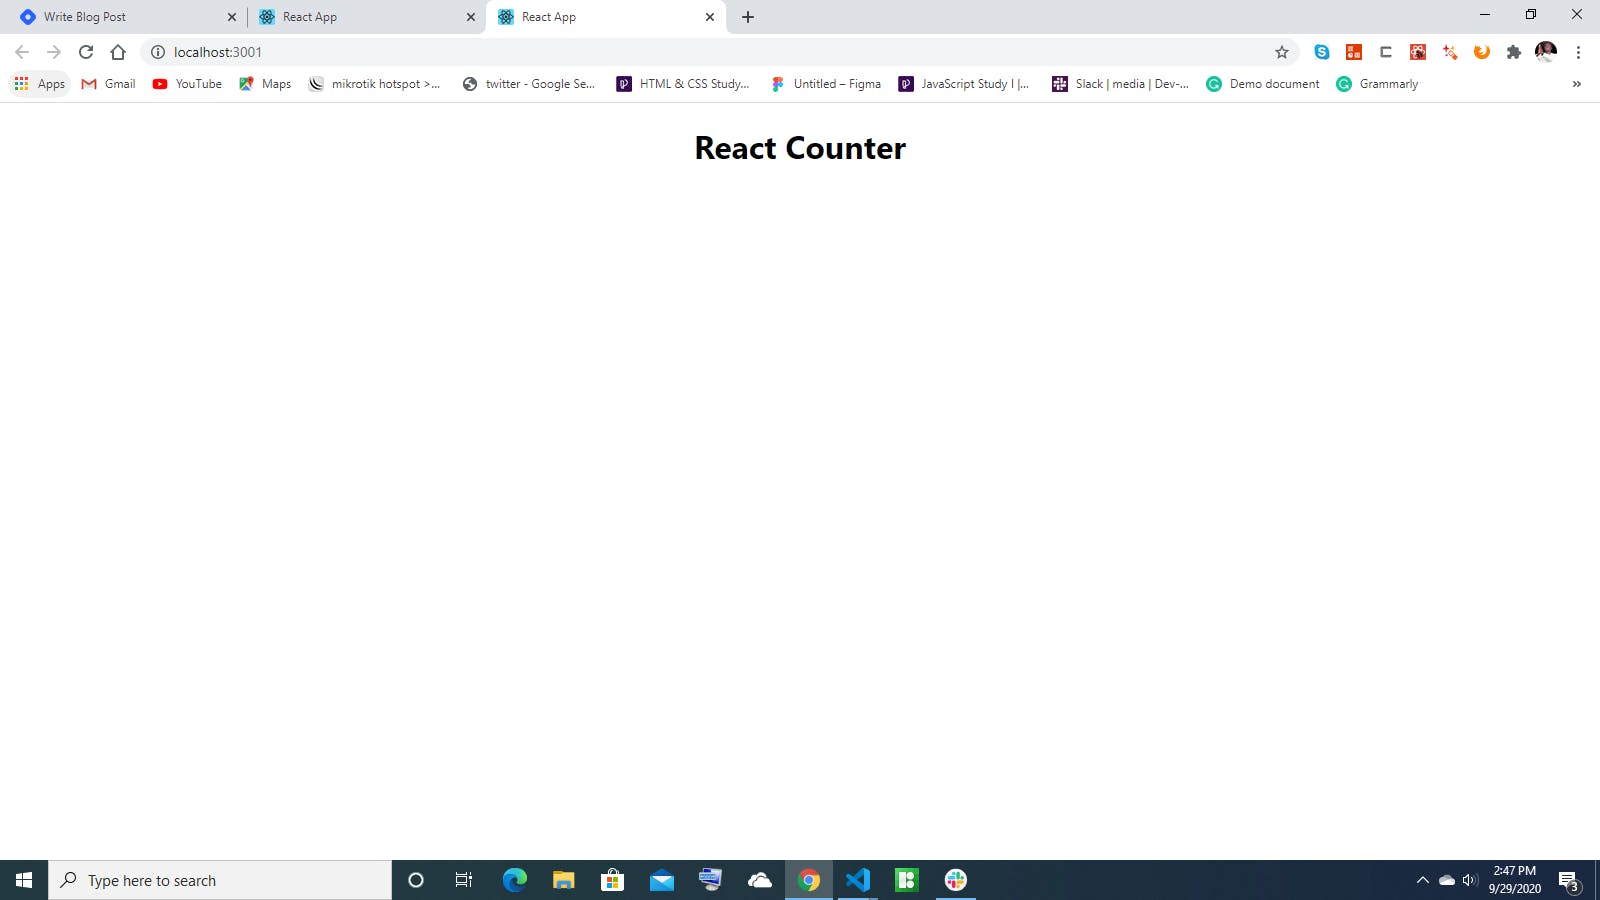
Save it and check your browser, the output should look like the image description below
Now let's apply some styling to our React counter, write out the code below to give our app some styling.
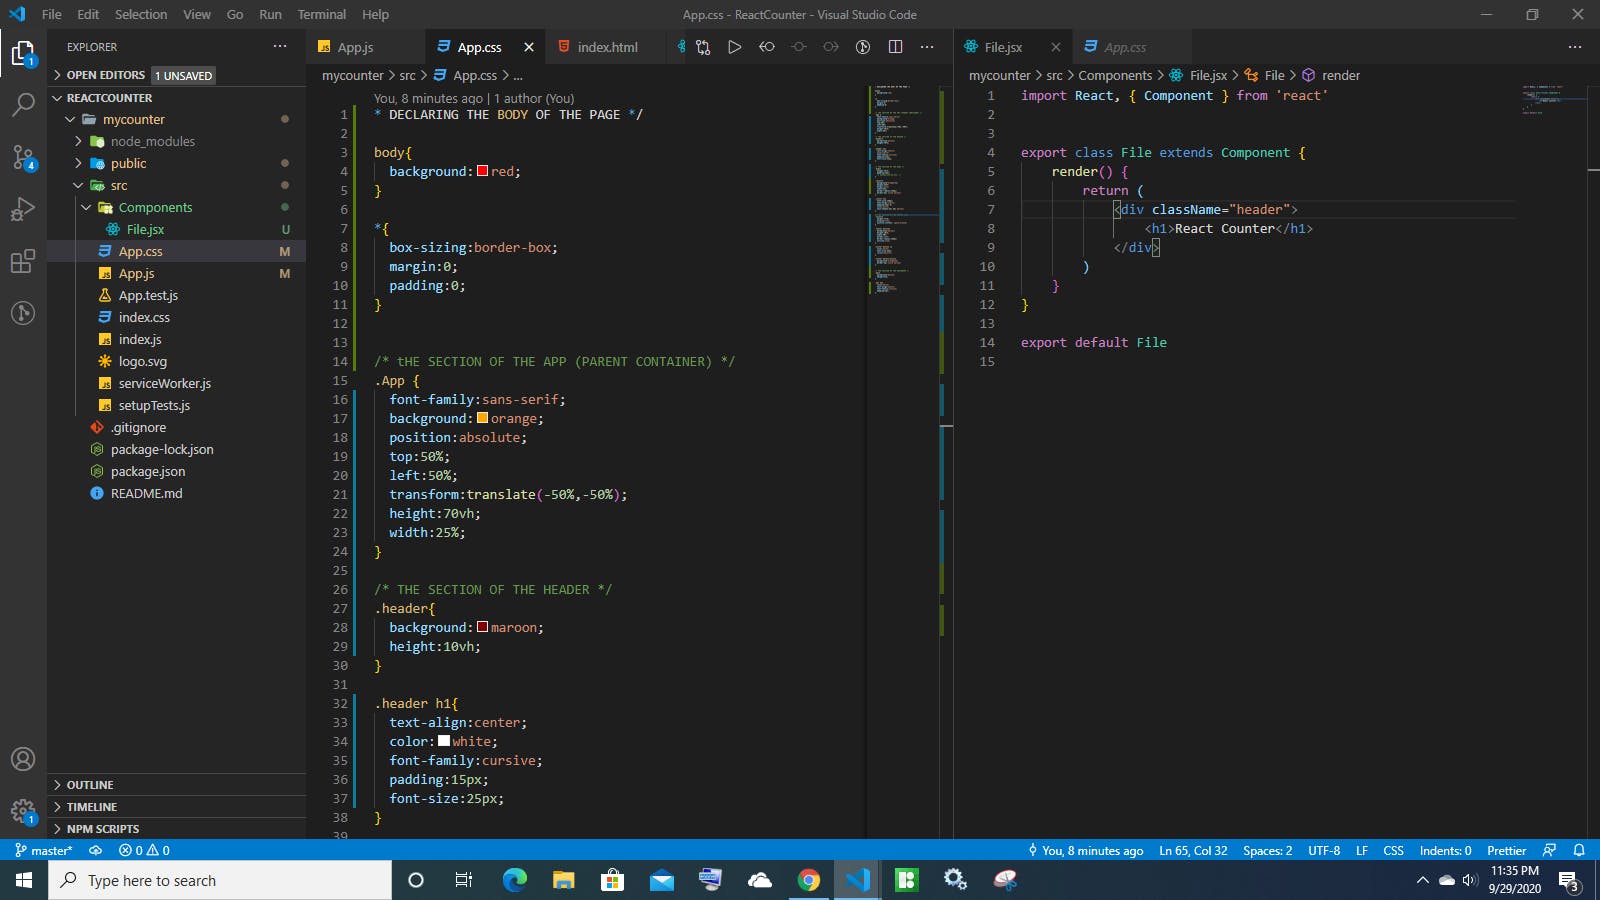
When you save it the output should look like the image description below
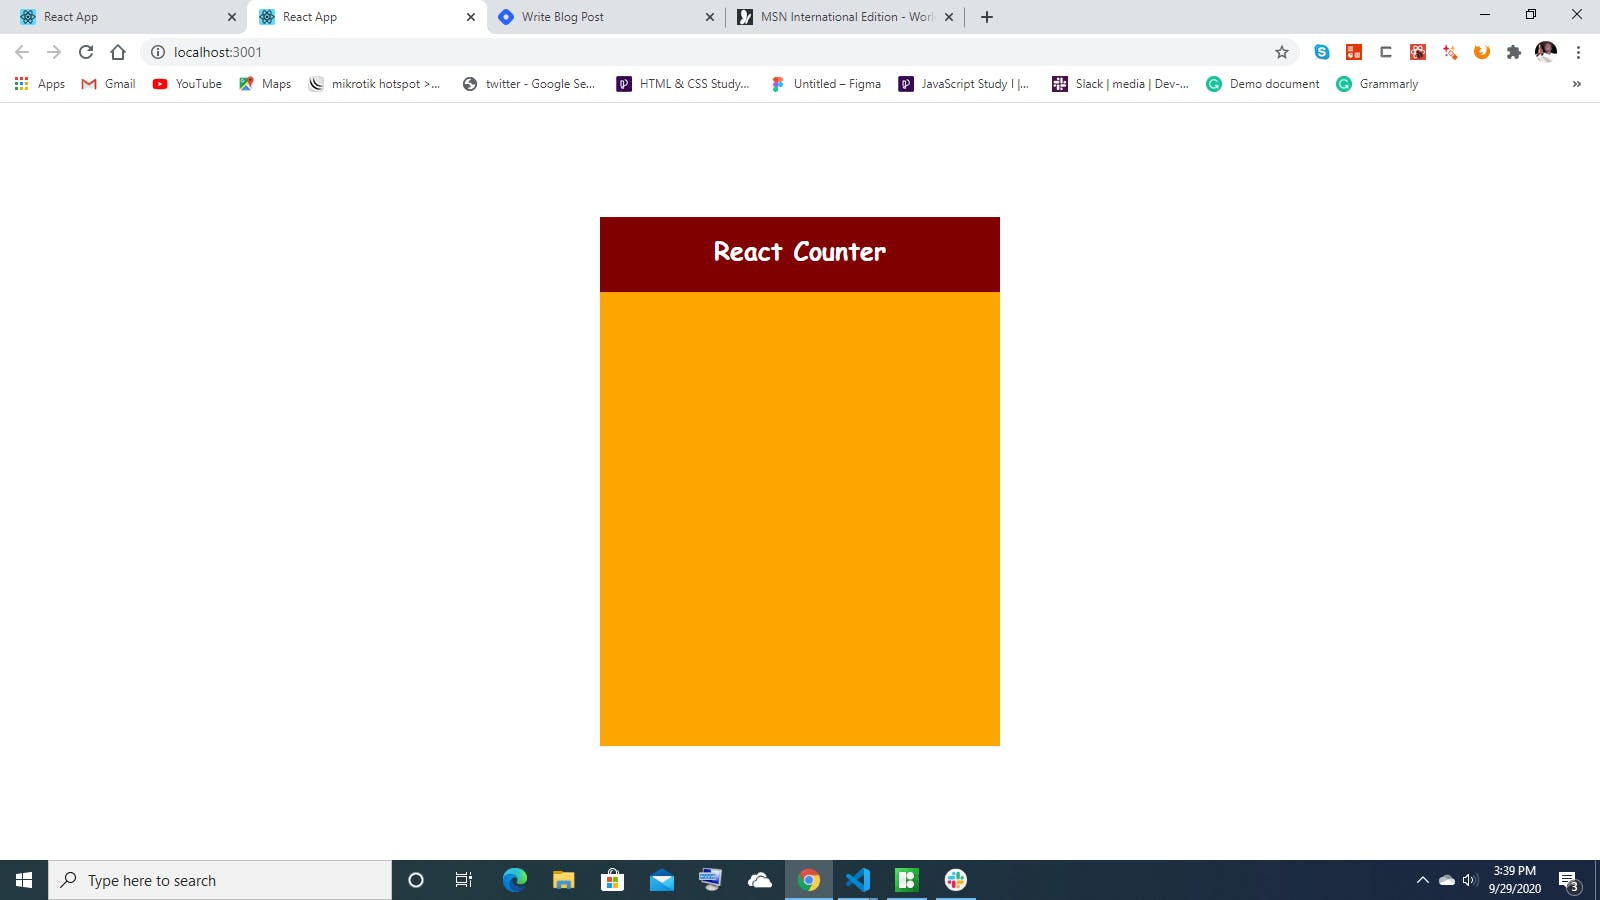
Now let's create the body of our app that displays the counter output within the File.jsx component. Write the code below, save it, and check your browser output for the desired result.

The output of the code should look like the below image description

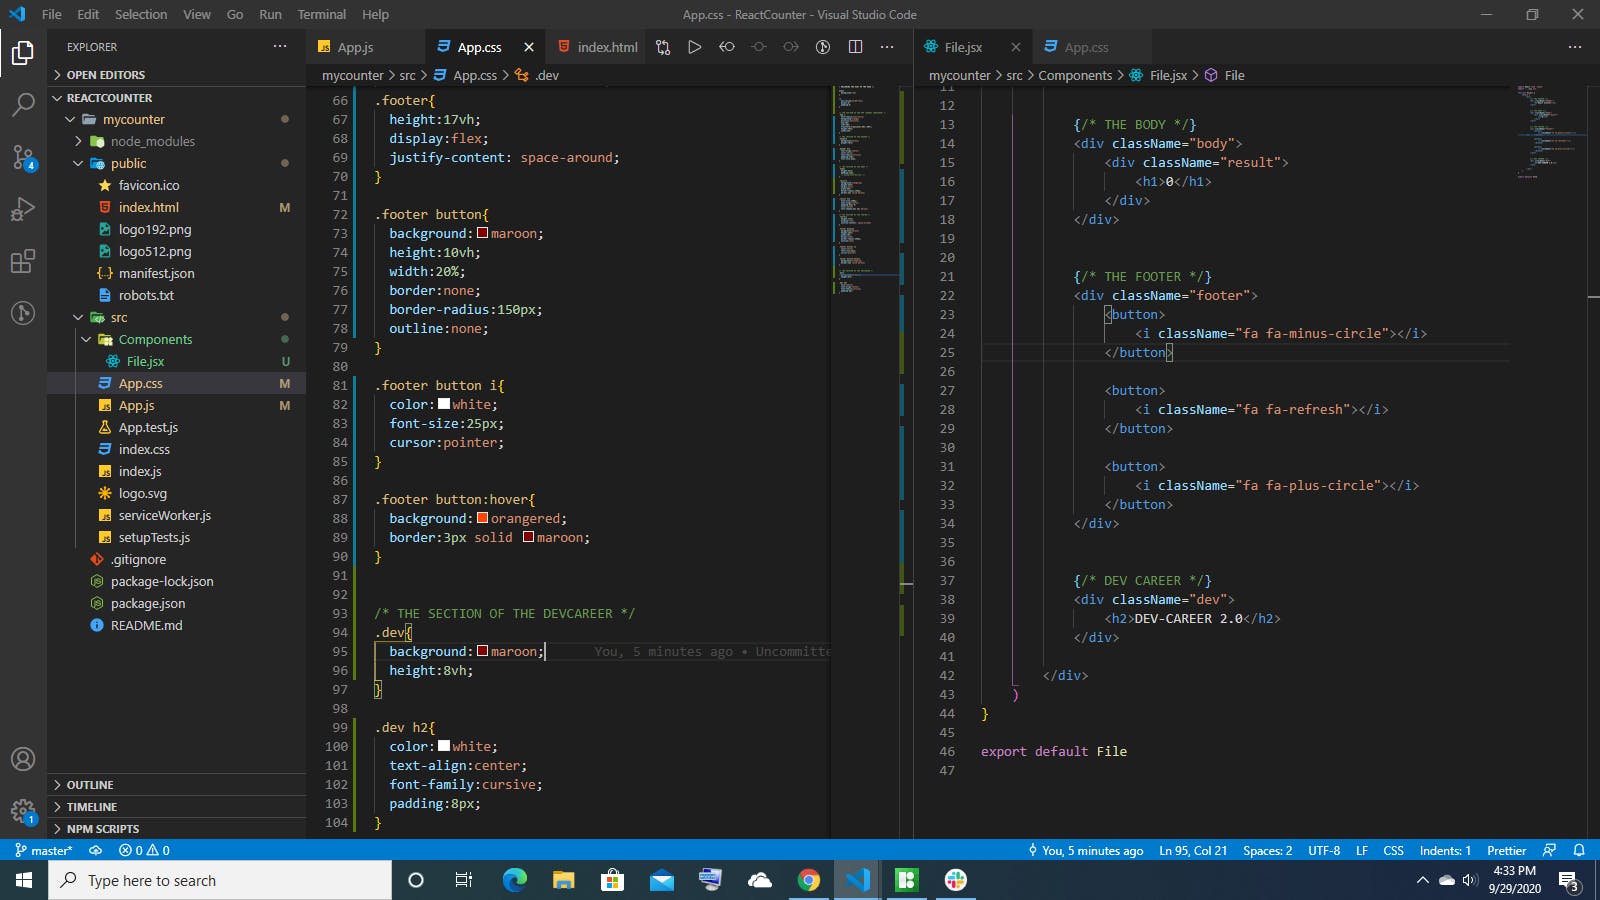
Now, let's create the footer that holds all the clickable buttons for incrementing, resetting, and decrementing the counter. Type the following code and I will explain the process.
If you are still here, you deserve an accolade!
Hold yourself together and let's move on.
Here the footer class holds three sets of buttons that increments, reset, and decrement the counter app.
Currently, I used a series of icons in each button. We will be using font-awesome classes as you most likely already figured out, but we have to install it first before use. let me show you how to do that.
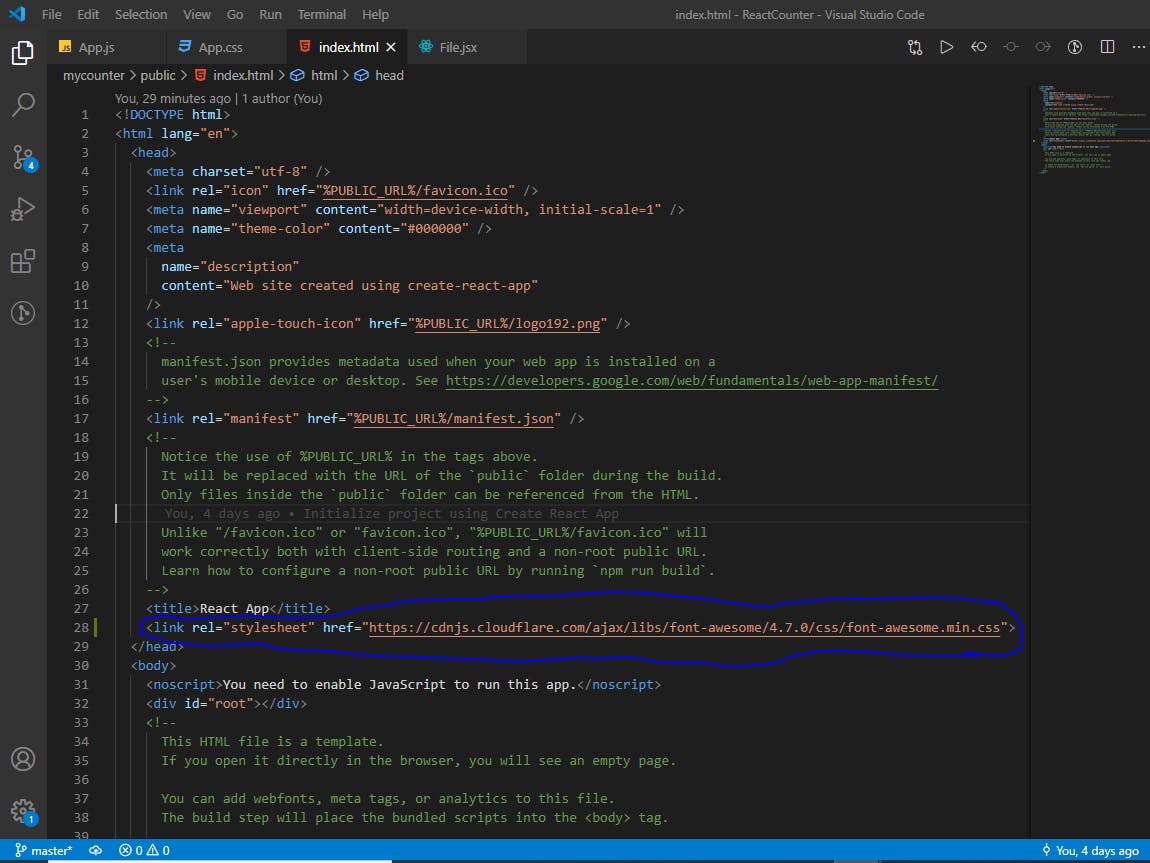
Navigate to the index.html file in the public folder, from there we will be linking to the font-awesome CDN.
Click Save, and check your browser, The final output for the UI should look like the image description below
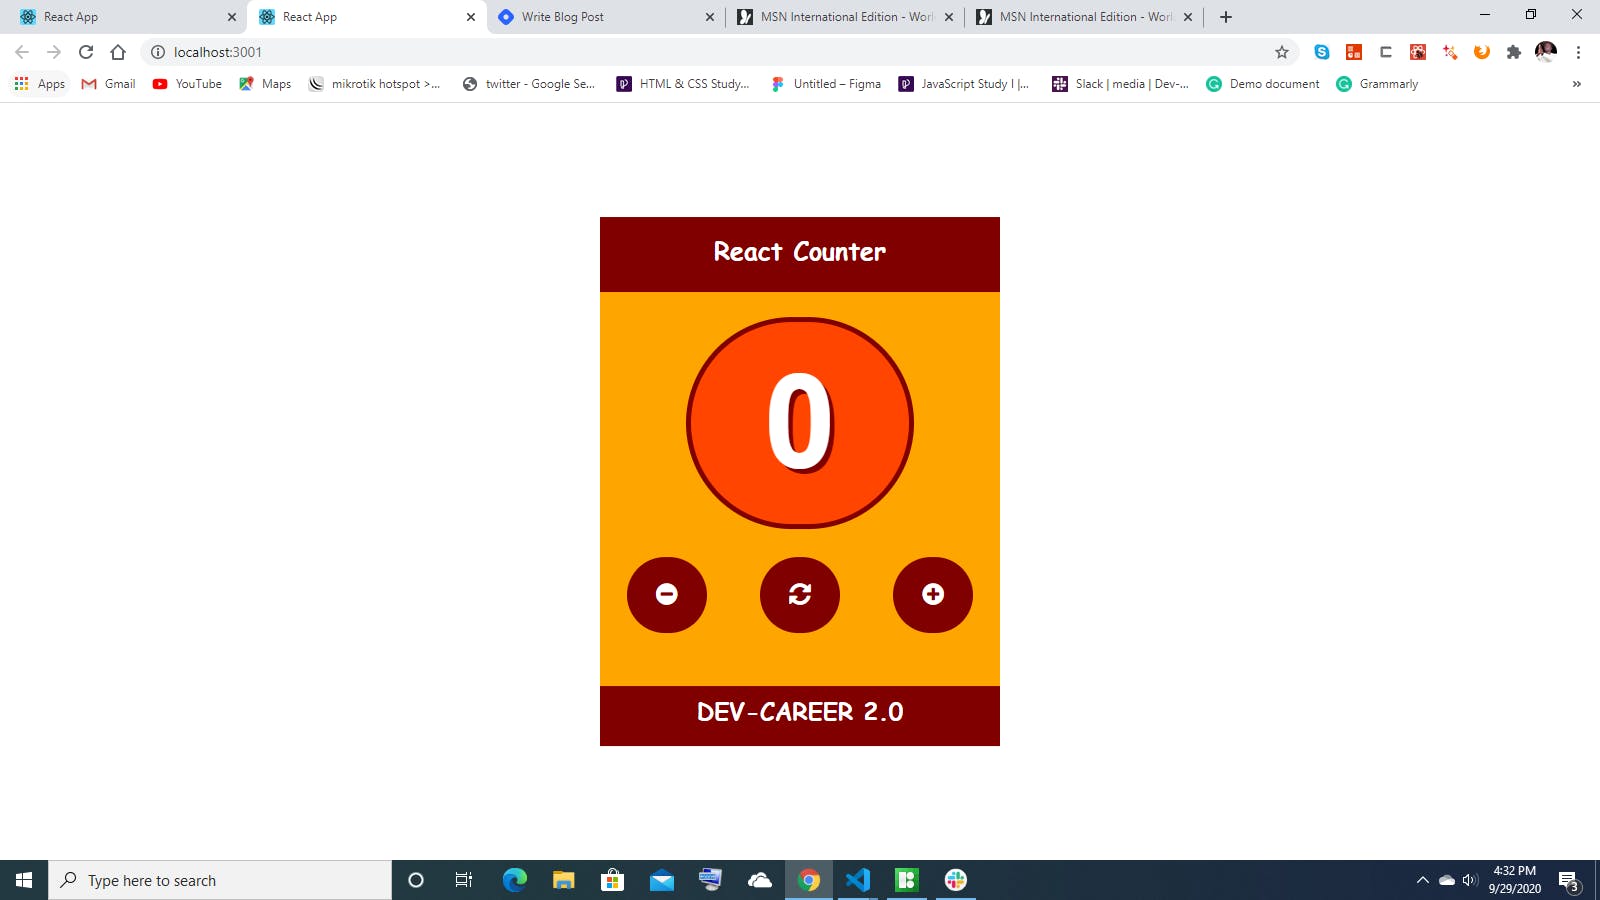
YAY!!!... We made it
Give yourself a round of applause if you are still here.
- Finally, we are through with the UI of our React counter app, now let's dive in and create the logic to put the counter app into action.
THE LOGIC PART
Now, we just got to the stage where the fun begins, currently, nothing happens if you click on the buttons, that's what we are about to start working on, so, stay tuned.
- Edit the File.jsx component by modifying it with the source code below
import React, { Component } from 'react'

export class File extends Component {
    constructor(props) {
        super(props)

        this.state = {
             count:0
        }

        this.minusHandler = this.minusHandler.bind(this);
        this.resetHandler = this.resetHandler.bind(this);
        this.addHandler = this.addHandler.bind(this);
    }


    // Declaring the Onclick methods

    minusHandler() {
        if(this.state.count>0)
        this.setState(state => ({
            count:state.count - 1
        }))
    }

    resetHandler(){
        this.setState(state => ({
            count:state.count = 0
        }))
    }

    addHandler(){
        if(this.state.count>=99){
            return;
        }
        this.setState(state => ({
            count:state.count + 1
        }))
    }

    render() {
        return (
            <div>
            {/* THE HEADER */}
            <div className="header">
                <h1>React Counter</h1>
            </div>


            {/* THE BODY */}
            <div className="body">
                <div className="result">
                    <h1>{this.state.count}</h1>
                </div>
            </div>


            {/* THE FOOTER */}
            <div className="footer">
                <button onClick={this.minusHandler}>
                    <i className="fa fa-minus-circle"></i>
                </button>

                <button onClick={this.resetHandler}>
                    <i className="fa fa-refresh"></i>
                </button>

                <button onClick={this.addHandler}>
                    <i className="fa fa-plus-circle"></i>
                </button>
            </div>


            {/* DEV CAREER */}
            <div className="dev">
                <h2>DEV-CAREER 2.0</h2>
            </div>

        </div>
        )
    }
}

export default File
STEP BY STEP EXPLANATION OF THE ABOVE SOURCE CODE
While working on React, you must have come across controlled components and event handlers. We need to bind these methods to the component instance using .bind() in our custom component’s constructor.
        this.minusHandler = this.minusHandler.bind(this);
        this.resetHandler = this.resetHandler.bind(this);
        this.addHandler = this.addHandler.bind(this);
THE DECREMENT FUNCTION
Our main aim for the decrement function is to decrease the value of the count by 1 each time the decrement button is clicked.
So, we will set a new state for the component each time the button is clicked, and therefore for each state, the value of the count is decreased by 1. In that case, when the decrement button is clicked, the value of the count is updated.
minusHandler() {
      if(this.state.count>0)
      this.setState(state => ({
          count:state.count - 1
      }))
  }
THE RESET FUNCTION
In the case of the reset function, we use it set the value of the count back to zero each time the reset button is clicked irrespective of the count value.
So, we set a new state for the component each time the button is clicked, and therefore for each state, the value of the count is reversed back to zero.
resetHandler(){
        this.setState(state => ({
            count:state.count = 0
        }))
    }
THE INCREMENT FUNCTION
The main aim of the increment function is to increase the value of the count by 1 each time the increment button is clicked.
So, we set a new state for the component each time the button is clicked, and therefore for each state, the value of the count is increased by 1. So when the increment button is clicked, the value of the count is updated.
 addHandler(){
        if(this.state.count>=99){
            return;
        }
        this.setState(state => ({
            count:state.count + 1
        }))
    }
Now, for each of the buttons, I add an event listener of onClick, which will make a reference to the above-declared corresponding function.
For the decrement button, when clicked, the minusHandler() function will run, which will decrease the value of the count.
For the increment button, when clicked, the addHandler() function will run, which will increase the value of the count.
For the reset button, when clicked, the resetHandler() function will run, which will set the value of the count to zero.
I dynamically rendered the value of that count property, so therefore, if there is any change in the count value, it is automatically rendered.
{this.minusHandler}
<div className="footer">
       <button onClick={this.minusHandler}>
            <i className="fa fa-minus-circle"></i>
       </button>

      <button onClick={this.resetHandler}>
            <i className="fa fa-refresh"></i>
      </button>

      <button onClick={this.addHandler}>
             <i className="fa fa-plus-circle"></i>
      </button>
</div>
Thank you for reading my blog
- That’s it for today! I hope I’ve made it easy to follow and understand.
- Try something new today. Feel good about yourself.
Happy coding!
Live Link: live demo
Github Repository: Github Repo
Twitter: twitter.com/LayoBright